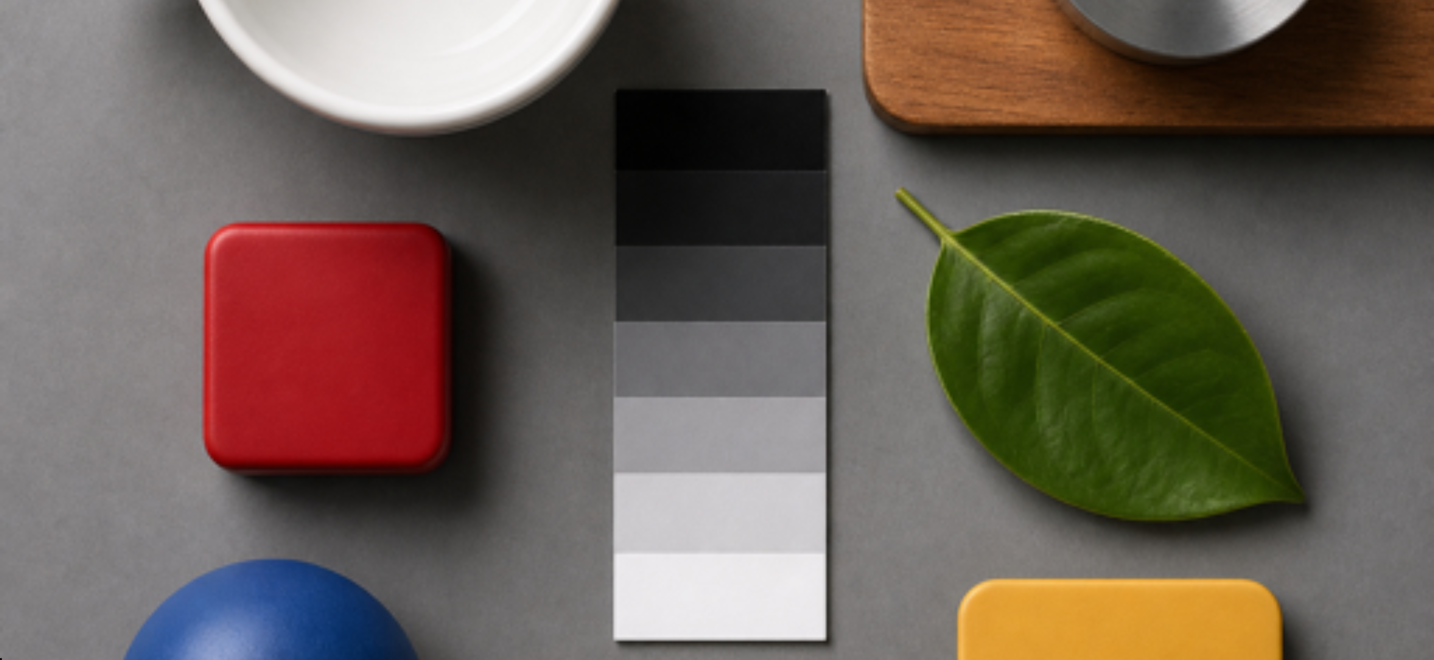
Keep the camera parallel
Use the Bubble Level and center crosshair to align the phone. Parallel alignment prevents products from appearing wider at one edge.
Turn an iPhone into a top-down camera, set the image, then remove every control for a clean USB screen-capture feed.
Mount safely, connect with a data cable, and establish a predictable capture path before fine-tuning the image.
Use the Bubble Level and center crosshair to align the phone. Parallel alignment prevents products from appearing wider at one edge.
Move or diffuse the light before compensating in exposure. For glossy products, a larger soft source usually matters more than more brightness.
USB capture can power the phone, but intensive looks and monitoring tools increase load. Keep the mount ventilated.
A charge-only cable powers the phone but cannot expose its display to the Mac. Reconnect after unlocking if the source does not appear.
The live picture owns the screen. Controls are grouped by job and disappear completely when the setup is finished.
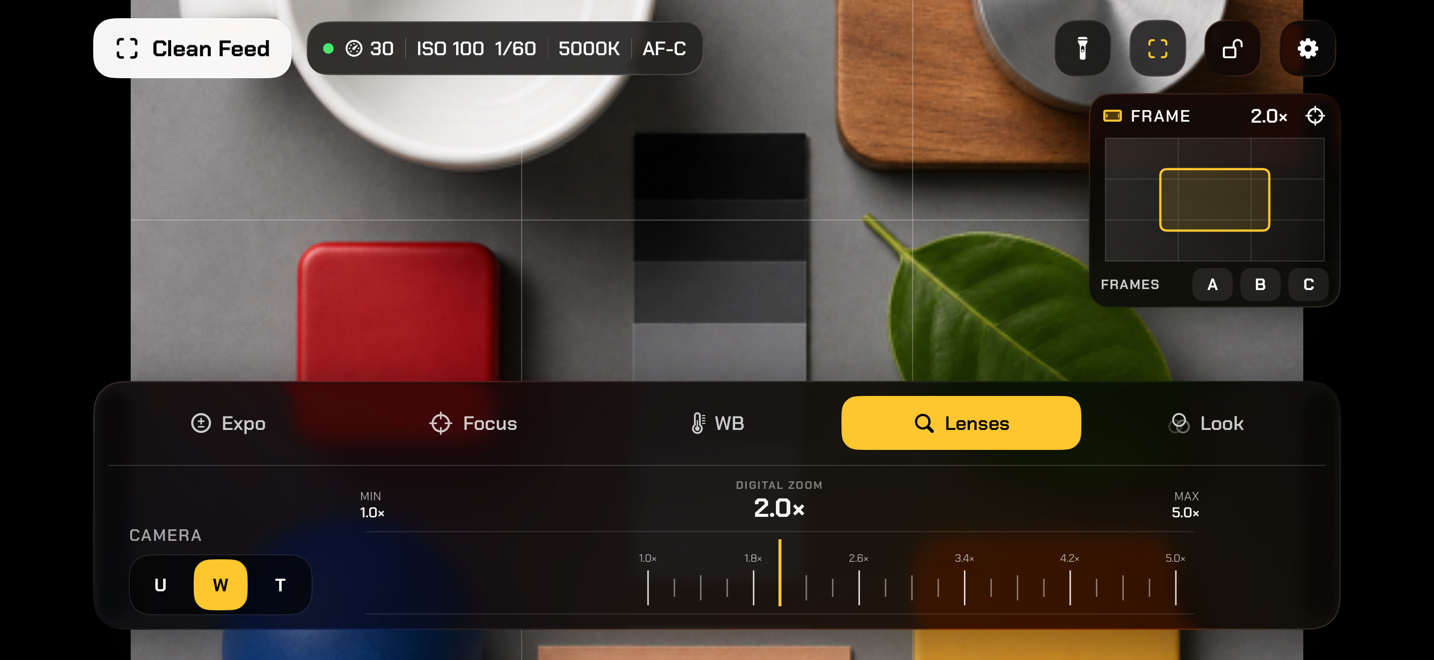
| Control | Meaning | Use it when |
|---|---|---|
| U | Ultra-wide physical camera | The mount is close or the whole work surface must fit. Expect more edge distortion. |
| W | Wide physical camera | You want the best default balance of detail, focus distance, and geometry. |
| T | Telephoto physical camera | The phone is mounted higher and you want a tighter optical view. |
| Digital zoom | A movable crop inside the active physical camera | You need exact framing without moving the mount. Reposition it with the framing map. |
Tap the open-lock button after setup to prevent accidental lens, dial, toolbar, and panel changes. The camera deck dims to show that it is protected. Tap the highlighted lock again to unlock. Tap focus and Clean Feed remain available so you can operate the shot without reopening the full setup.
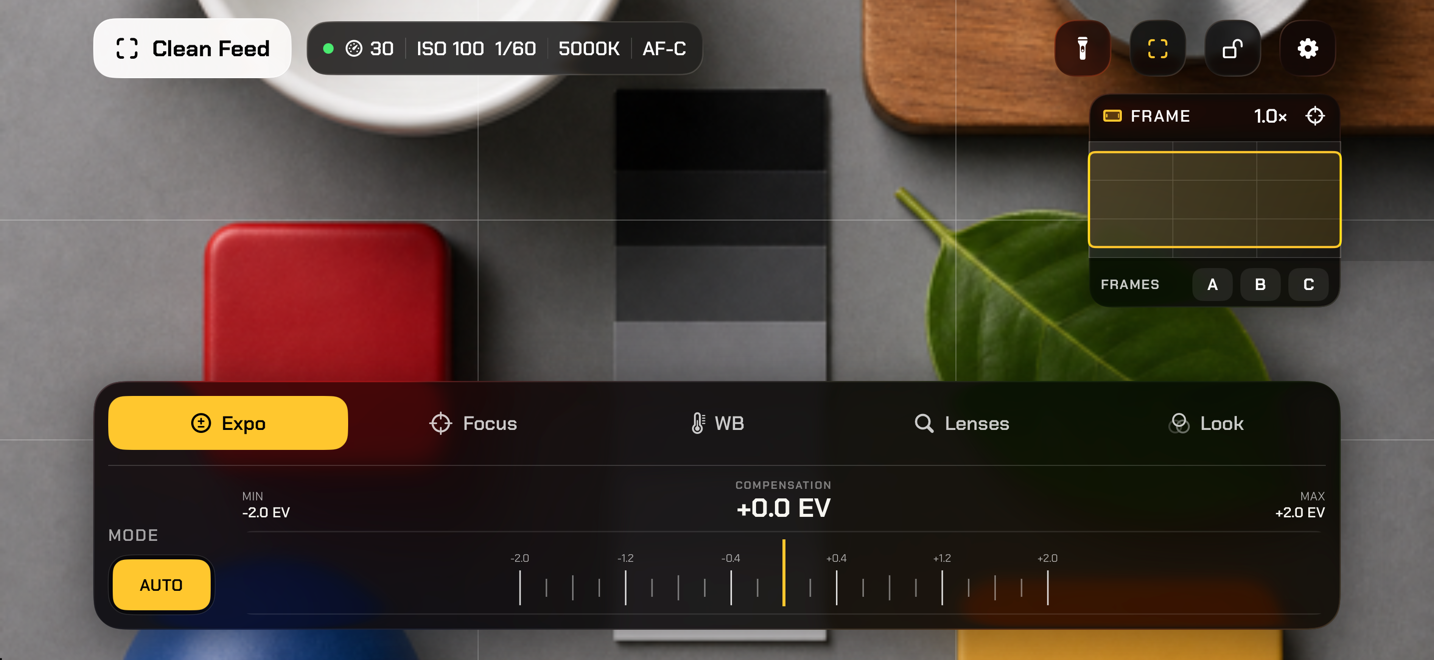
Leave Auto on for an adapting exposure, or turn it off for fixed ISO and shutter control.
| Mode | What changes | Best for |
|---|---|---|
| Auto on | The camera adapts to the scene. A compact Auto toggle leaves the remaining width to the Compensation rail. | Fast setup or scenes whose lighting changes during the session. |
| Auto off | The panel shows ISO and Shutter. Turning Auto off starts from the current measured values and holds them. | Repeatable product work, flicker control, and deliberate motion rendering. |
Place a finger anywhere on the rail and drag horizontally. The yellow center index stays fixed while the tick scale moves beneath it. The current value remains centered; the labels at the edges show the minimum and maximum supported by the selected lens and frame rate.
ISO controls sensor amplification. Lower values generally produce a cleaner image; raise ISO only when the available light and chosen shutter cannot deliver the brightness you need.
Shutter controls exposure time. A faster shutter reduces motion blur but needs more light. At 60 FPS the longest possible exposure is approximately 1/60 second, so slower shutter choices are correctly unavailable.
Set the point of attention, prevent focus drift, and keep neutral colors from changing during the take.
Tap the exact subject detail that should be sharp. Overhead sends one coordinated focus and exposure-point request. The target appears at the tap location: yellow while the camera adjusts, green when the requested adjustments settle, and red if the camera cannot complete them.
The camera keeps adjusting as the subject moves. The lens-position rail remains visible but disabled.
Tap Lock to freeze the current focus. Auto and Lock remain visible beside the rail; dragging the enabled rail sets a manual lens position.
The 0–100% value is lens travel, not a distance measurement.
Enable red, yellow, or green edge highlighting while setting focus. Disable it before judging color and contrast.
| Mode | Behavior | Recommendation |
|---|---|---|
| Auto | Adapts temperature and tint as the scene changes. Both read-only rails follow the live camera values. | Use for changing ambient light or the fastest setup. |
| Lock | Holds the currently measured white balance and enables both rails. | Let Auto settle, then tap Lock before recording. |
| Manual | Dragging either enabled rail sets temperature from 2500–10000 K or tint from −100 to +100. | Use a neutral reference and match multiple devices or repeatable lighting setups. |
Auto and Lock are separate toggles. Tap the selected mode again to return to Manual; neither button is highlighted, and the Temperature and Tint rails remain available.
Temperature moves the image between warm and cool. Tint corrects the green–magenta axis. Make white-balance decisions with False Color and LUTs disabled; re-enable the selected look afterward.
Treat digital zoom as a movable window, not a fixed center crop. The map follows the phone and feed rotation.
Open Lenses to choose an available physical camera with the buttons to the left of the Digital Zoom Precision Rail. Drag the rail, or pinch anywhere on the camera preview, to set the crop amount. Pinch remains available while another control panel is open. When zoom exceeds 1×, the framing map shows the full active camera image and the smaller region currently filling the output.
Drag anywhere inside the map. The crop follows the same visible X/Y direction as your finger, including when the phone is rotated 90°, 180°, or 270°. The map changes between portrait and landscape proportions and its phone icon shows the active feed orientation.
Tap the scope icon in the map header to return the crop to the exact center.
Setup always shows the complete native camera image. Select 16:9, 4:3, or 1:1 to place a shaded crop over it, then drag the framing map to choose which part remains. The camera image itself does not resize until Clean Feed begins. The map only appears when the selected frame genuinely discards part of the native image — choosing 4:3 on a 4:3 sensor keeps everything, so there is nothing to position and the map stays hidden until you zoom.
Screen is different: it draws no mask or shade, because the preview itself expands to fill the current iPhone display the moment you select it, accepting whatever crop that display requires. Setup and Clean Feed therefore show the same picture. Native keeps the complete sensor image letterboxed when necessary. Title Safe remains a guide and does not change output dimensions.
Preview and apply color directly in the camera view. Overhead includes 20 built-in looks and accepts standard 3D .cube files.
Open Look and swipe the horizontal thumbnail rail. Tap Original for no LUT or tap any square preview to apply it immediately. The thumbnails deliberately emphasize each look slightly so differences are legible at a small size; the live image uses the true selected intensity.
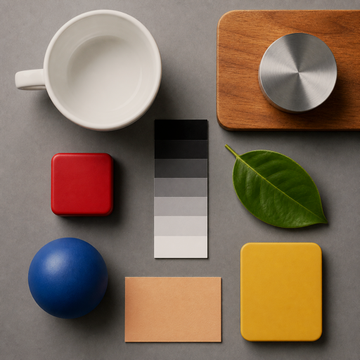
Warm key-light character with protected whites.
Drag Intensity from 0–200% with the full-width Precision Rail. The authored LUT strength is 100%; values above it push the transform further. Monochrome looks intensify only their tone curve above 100%, so they remain neutral. LUT preview images are cached in memory and on disk; the first render after an app update can take a moment, while later visits should appear immediately.
Use analytical overlays to make decisions, then let Clean Feed remove them from the final screen capture.
Open the viewfinder button in the top toolbar for fast access, or use Settings → Setup. Torch, monitoring/guides, control lock, and Settings share one height and the same dark glass surface. A yellow symbol means the corresponding tool or one of its contained assists is active; selection does not add another background.
| Tool | What it shows | How to use it |
|---|---|---|
| Focus Peaking | High-contrast edges in red, yellow, or green. | Adjust focus until the intended detail is outlined. Texture can peak even when it is not the subject. |
| Zebras | Striping over pixels above the selected 70, 80, 90, 95, or 100 IRE threshold. | Use 95–100 to find near-clipped highlights; lower thresholds help protect bright skin or product labels. |
| False Color | A luminance color map with an on-screen legend. | Compare important surfaces by brightness without being distracted by color. |
| Histogram | Distribution of dark-to-bright luma values. | Check overall exposure and clipping, but remember it does not show where pixels occur. |
| Waveform | Luma values arranged by horizontal image position. | Locate bright or dark regions and compare levels across the frame. |
Divides the image into thirds. It is enabled by default and can be hidden independently.
Marks the optical center for documents, turntables, unboxings, and symmetrical products.
Uses live device motion to help make the phone parallel to the work surface. Motion samples are not stored.
Preview and position 1:1, 4:3, or 16:9 over the complete native image. Screen draws no shade and fills the display as soon as you pick it.
Scopes are analyzed at a controlled refresh rate to preserve responsiveness. They are monitoring instruments, not recorded metadata.
Move preset and configuration work off the live camera screen, then recall an entire setup with one tap.
Open Settings → Shots and tap Save Current Shot. Give it a useful name such as “A4 document / daylight” or “Watch close-up / 60 FPS.”
| A Shot remembers | Examples |
|---|---|
| Camera and framing | Physical lens, digital zoom, crop center, and frame rate |
| Focus | AF-C, Lock, or MF and the manual lens position |
| Exposure | Mode, compensation, ISO, and shutter |
| Color and light | White-balance mode, temperature, tint, torch state/level, LUT, and intensity |
| Presentation | Grid, crosshair, level, and framing mask |
Tap a saved Shot to apply it. If it uses another physical lens, Overhead switches the camera first and then applies the remaining hardware settings and crop. Swipe or touch and hold a Shot to rename or delete it.
Save, recall, rename, and delete complete camera configurations.
Import, validate, rename, and delete custom .cube files. Choose their color from the camera Look panel.
Choose the physical lens, frame rate, light, control lock, monitoring, output framing, lens capabilities, and reset.
Returns to W when available, 30 FPS, automatic focus/exposure/white balance, 1× centered framing, no LUT, and torch off.
Saved work follows the private iCloud account on the iPhone. The live camera image never enters iCloud.
Overhead syncs named Shots, A/B/C framing bookmarks, imported LUT metadata and .cube files, guides, monitoring options, control lock, selected look, and look intensity. App preferences sync even when they are not part of a saved Shot.
Compact settings use Apple's iCloud key-value store. Imported LUT files use Overhead's private iCloud Drive app container and remain cached locally after download for offline use. The most recently changed complete setup wins if two devices edit the library independently.
When an imported LUT exists in the synced library but has not reached this device, Settings shows Waiting for iCloud download. The look becomes selectable after its local cache is complete. Deleting a LUT removes its synced file and local cached copies.
Clean Feed stays easy to reach at the upper left. Tap it once to turn the configured iPhone display into the output.
Clean Feed hides the control deck, minimap, status readout, tool buttons, guides, monitoring assists, focus feedback, status bar, and persistent system overlays. A selected LUT remains because it is part of the intended picture.
Output framing: Native keeps the complete sensor image. A selected 16:9, 4:3, or 1:1 shade becomes the enlarged Clean Feed crop. Screen fills the physical iPhone display immediately instead of showing a mask.
Single tap: focus and exposure metering remain active, without drawing the focus target. With Auto off, the measured ISO and shutter are held. Two-finger tap: restores every control.
Start with the visible symptom. The answer below tells you what to check next.
Open iOS Settings, find Overhead, and enable Camera access. If access is already enabled, quit and reopen the app. Overhead automatically rebuilds the capture session after an iOS media-services reset.
Confirm the cable supports data, unlock the iPhone, accept the Trust prompt, and reconnect. Try another USB port without a hub. Then reopen the source menu in the capture software.
Clean Feed is active. Tap anywhere on the live preview with two fingers at the same time. A single finger intentionally remains reserved for focus.
Confirm the selected physical lens can focus at the mounting distance. Open Lens Capabilities to inspect minimum focus distance when reported. Move the phone farther away, switch lens, add light, or use MF with focus peaking.
Tap-to-focus also meters exposure at the same point. Turn Auto off when you want the measured ISO and shutter to remain fixed after the tap.
Frame-rate choices depend on the active lens and capture format. Switch physical lens or inspect Lens Capabilities. At higher FPS, some resolutions and longer shutter durations are unavailable.
Use Manual exposure and adjust shutter until the bands disappear. If the lamp uses an unusual PWM frequency, change its output level or use a flicker-free light.
The current build derives the map axes from the live AVFoundation preview transform. Confirm the feed is upright, rotate the phone once if iOS has not updated orientation, then retry. If the map and live image still disagree, record the physical lens and orientation when reporting the issue.
Use a UTF-8 3D .cube file no larger than 25 MB with a complete cube definition. One-dimensional LUTs and malformed value counts are rejected.
Keep Overhead open with network access, verify iCloud Drive is enabled, and tap Sync Now in Settings → Setup. The LUT remains unavailable until its private iCloud file is cached locally.
Sign into the intended Apple account, enable iCloud Drive, confirm free iCloud storage, and tap Sync Now. Your current local settings remain usable while sync is offline.
Unlock controls if the lock button is highlighted. Disable expensive monitoring assists you do not need. If iOS is under heavy thermal pressure, allow the device to cool and keep airflow around the mount.
Gestures, terminology, requirements, and the privacy boundary in one place.
| Gesture | Result |
|---|---|
| Single tap on preview | One coordinated focus and exposure request. Auto continues adapting; Auto off meters once and holds ISO and shutter. |
| Two-finger tap | Restore controls from Clean Feed. |
| Horizontal drag on Precision Rail | Move the tick scale beneath the fixed center index and change its value. |
| Drag in framing map | Move the zoomed viewport in the visible screen direction. |
| Tap A / B / C | Save an empty frame slot or recall a filled slot. |
| Touch and hold A / B / C | Replace the stored frame or delete it. |
| Swipe or hold saved item | Rename or delete a Shot or imported LUT in Settings. |
| Device | iPhone with rear camera; available controls vary by hardware. |
| Operating system | iOS 18 or later. |
| Mac connection | USB data cable, unlocked/trusted device, and compatible screen-capture software. |
| iCloud | Apple account and iCloud Drive for cross-device shots, LUTs, bookmarks, and preferences. |
| Imported LUT | UTF-8 3D .cube, complete value count, maximum 25 MB. |
Overhead has no Coyotiv user account, analytics, advertising, tracking, developer-operated backend, or third-party SDKs. Live camera video, scope data, and motion samples stay on-device and are not recorded by Overhead. Saved app data syncs only through the private Apple iCloud account signed into the iPhone. Coyotiv cannot access that iCloud container.
For policy details, read the Overhead Privacy Policy. For concise help and contact information, see Overhead Support.